Search Knowledge Base by Keyword
Easy Updates Manager integrates nicely with UpdraftCentral.
Step 1: Download UpdraftCentral and Configure
Download the UpdraftCentral Dashboard and place it on the site you wish to control Easy Update Manager’s settings.
Create a page and insert the following shortcode: [updraft_central]
Step 2: Connect a Site
On the site you want to connect, download and install Easy Updates Manager and UpdraftPlus.
Navigate to the Advanced Tools section of UpdraftPlus.
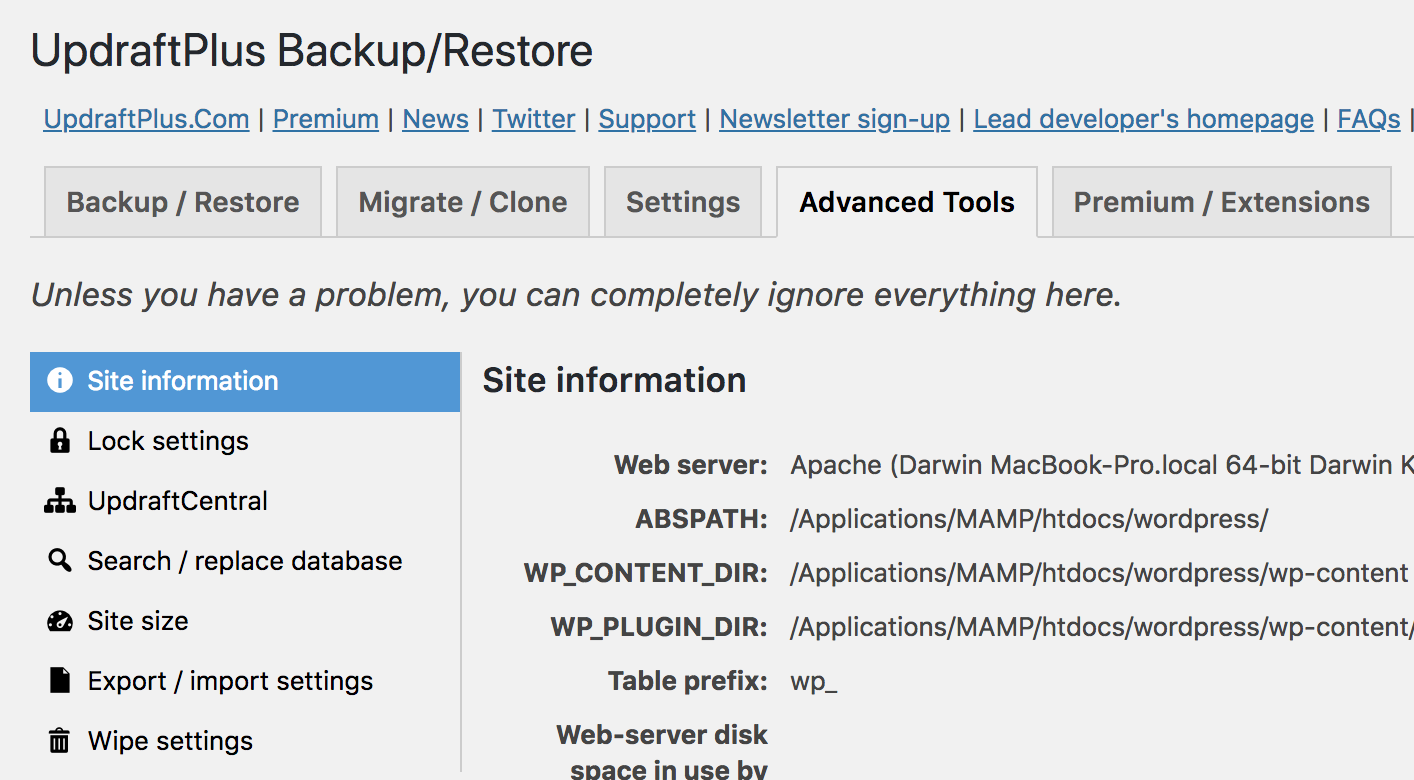
UpdraftPlus Advanced Tools
From there, select UpdraftCentral.
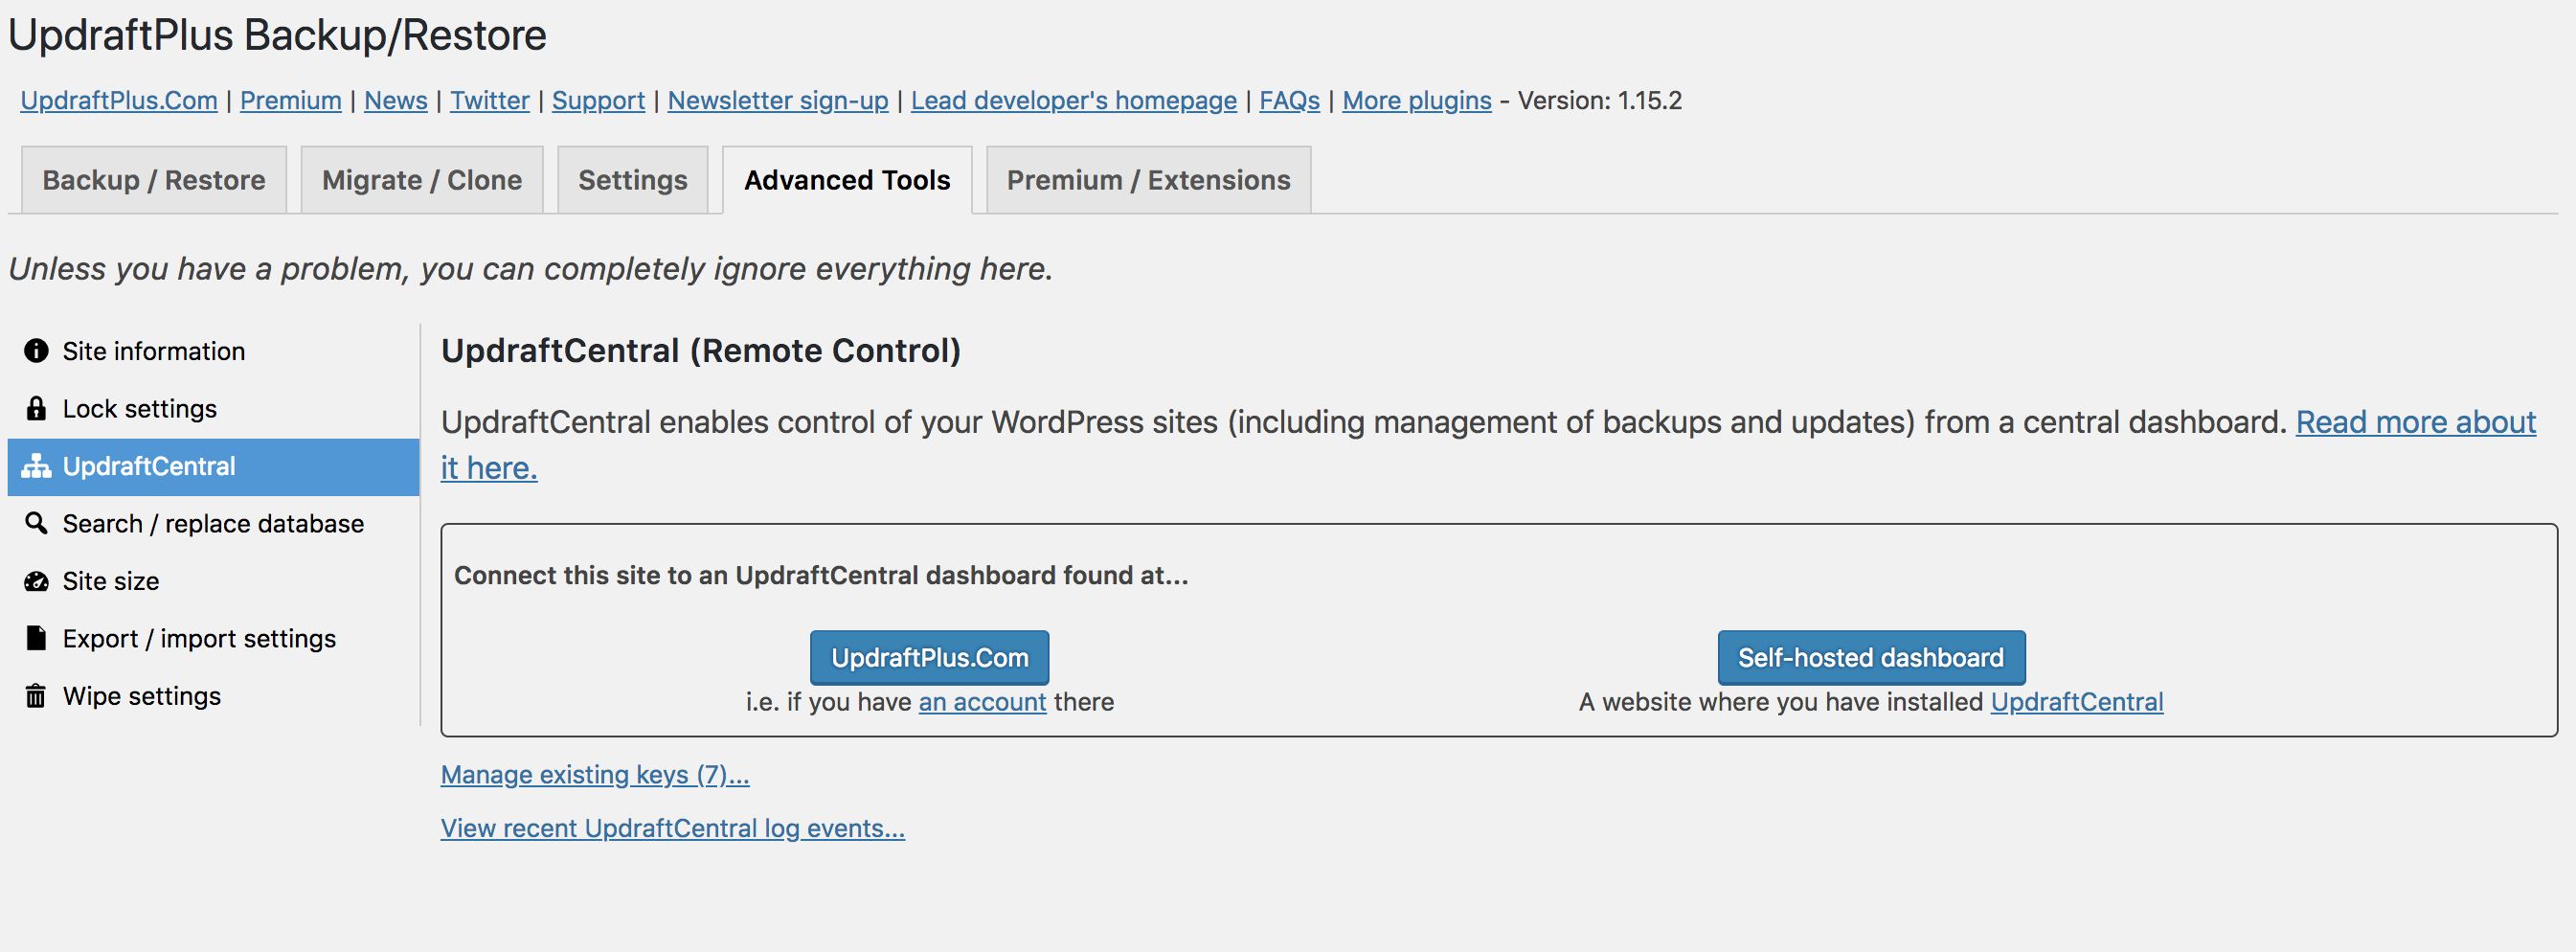
UpdraftCentral Options
Select Self-hosted dashboard. You’ll be prompted to enter the URL of the main site you created in Step 1.

Self-hosted UpdraftCentral
Select Next after you have entered the URL of the main site. You’ll be presented with a screen that allows you to create a site key.

UpdraftCentral Create Key Screen
Create the site key, and copy it to your clipboard.
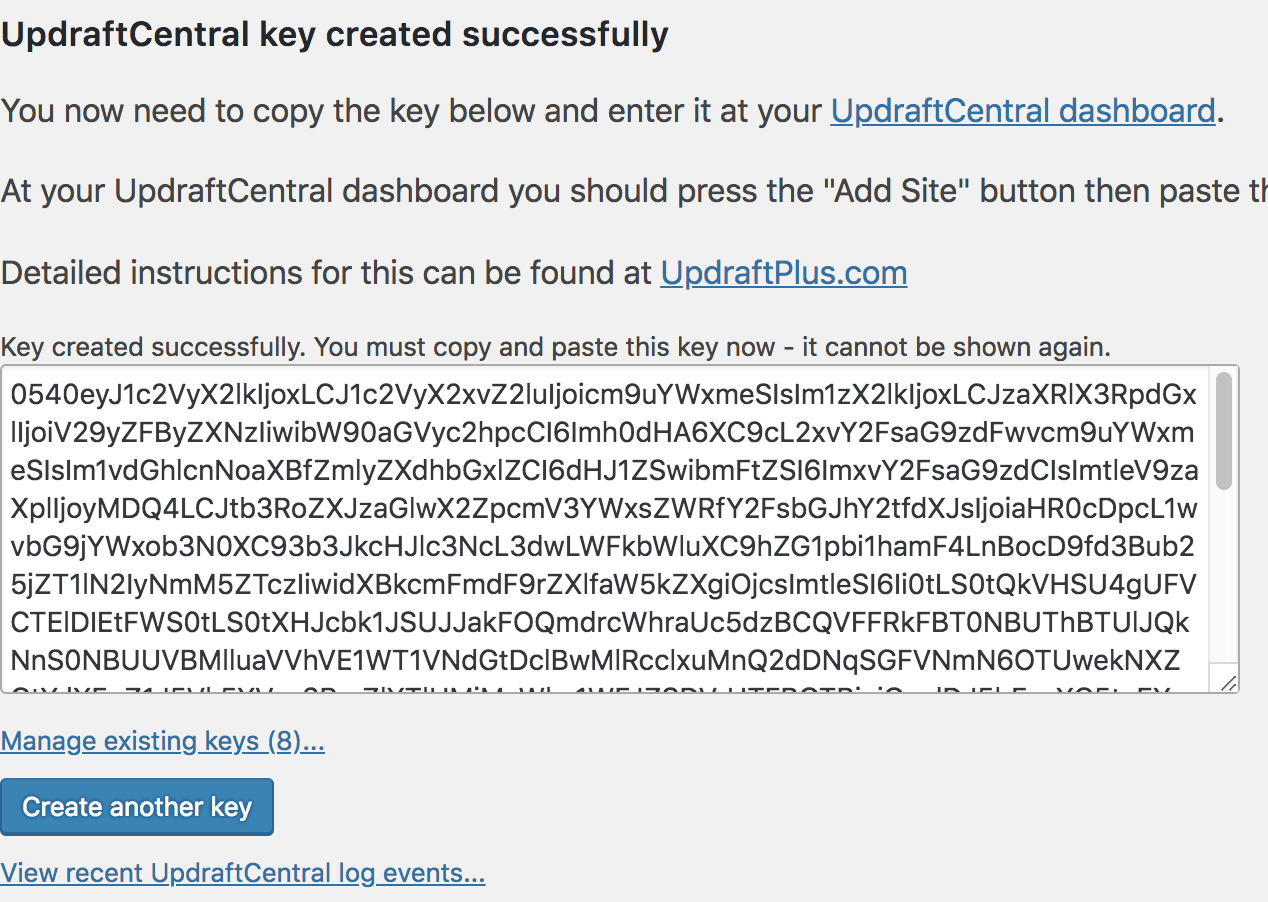
UpdraftCentral Key Created
Head to your main site where UpdraftCentral is installed and go to your page. From there, you can add the site with the created key.

UpdraftCentral Main Screen
Click the “+” icon to add a site and enter the site key.
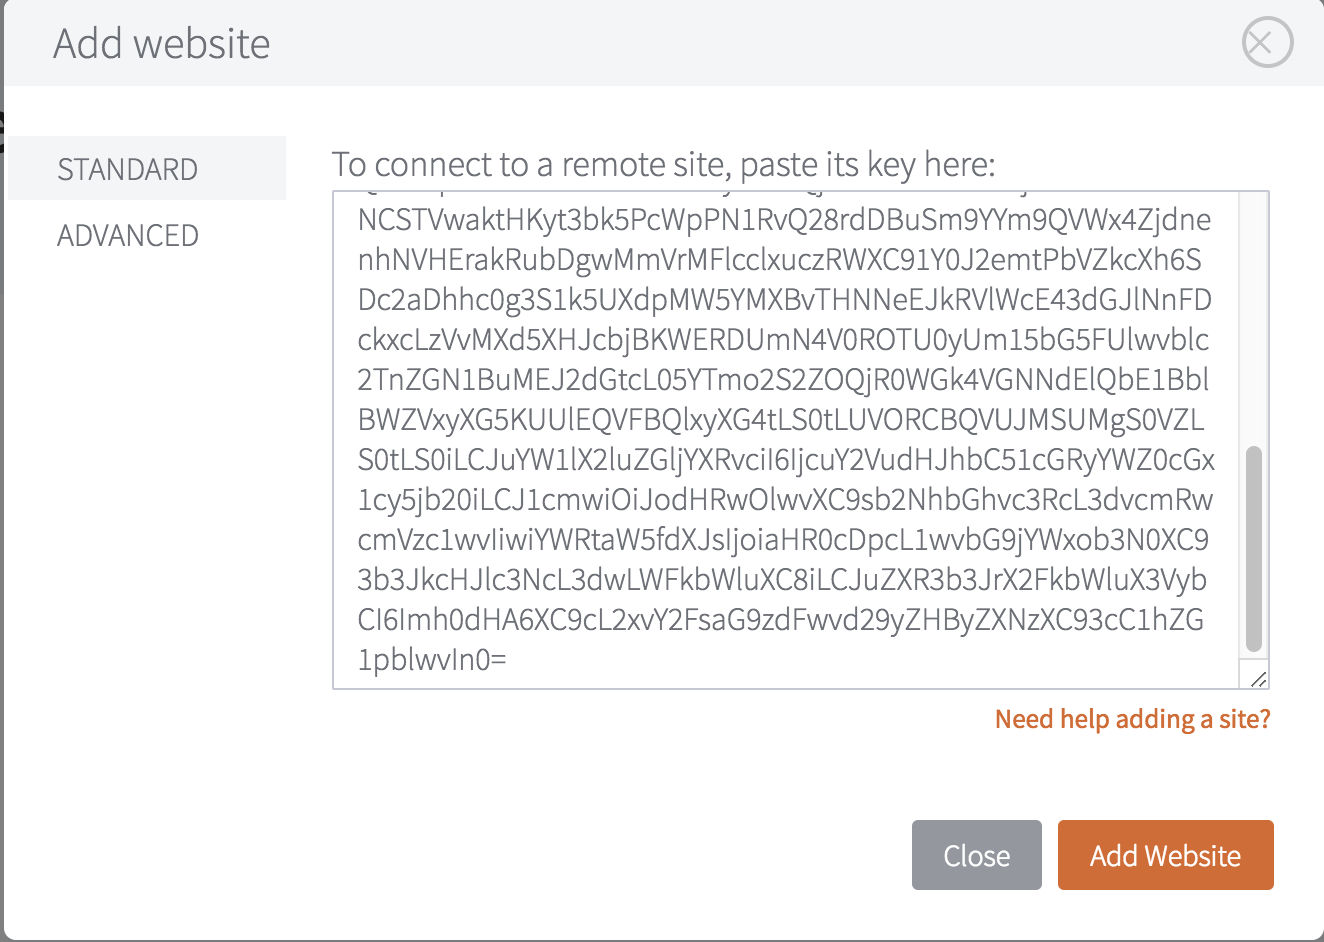
UpdraftCentral Add Key Dialog
If the connection is successful, you’ll now see the site in your site’s list.
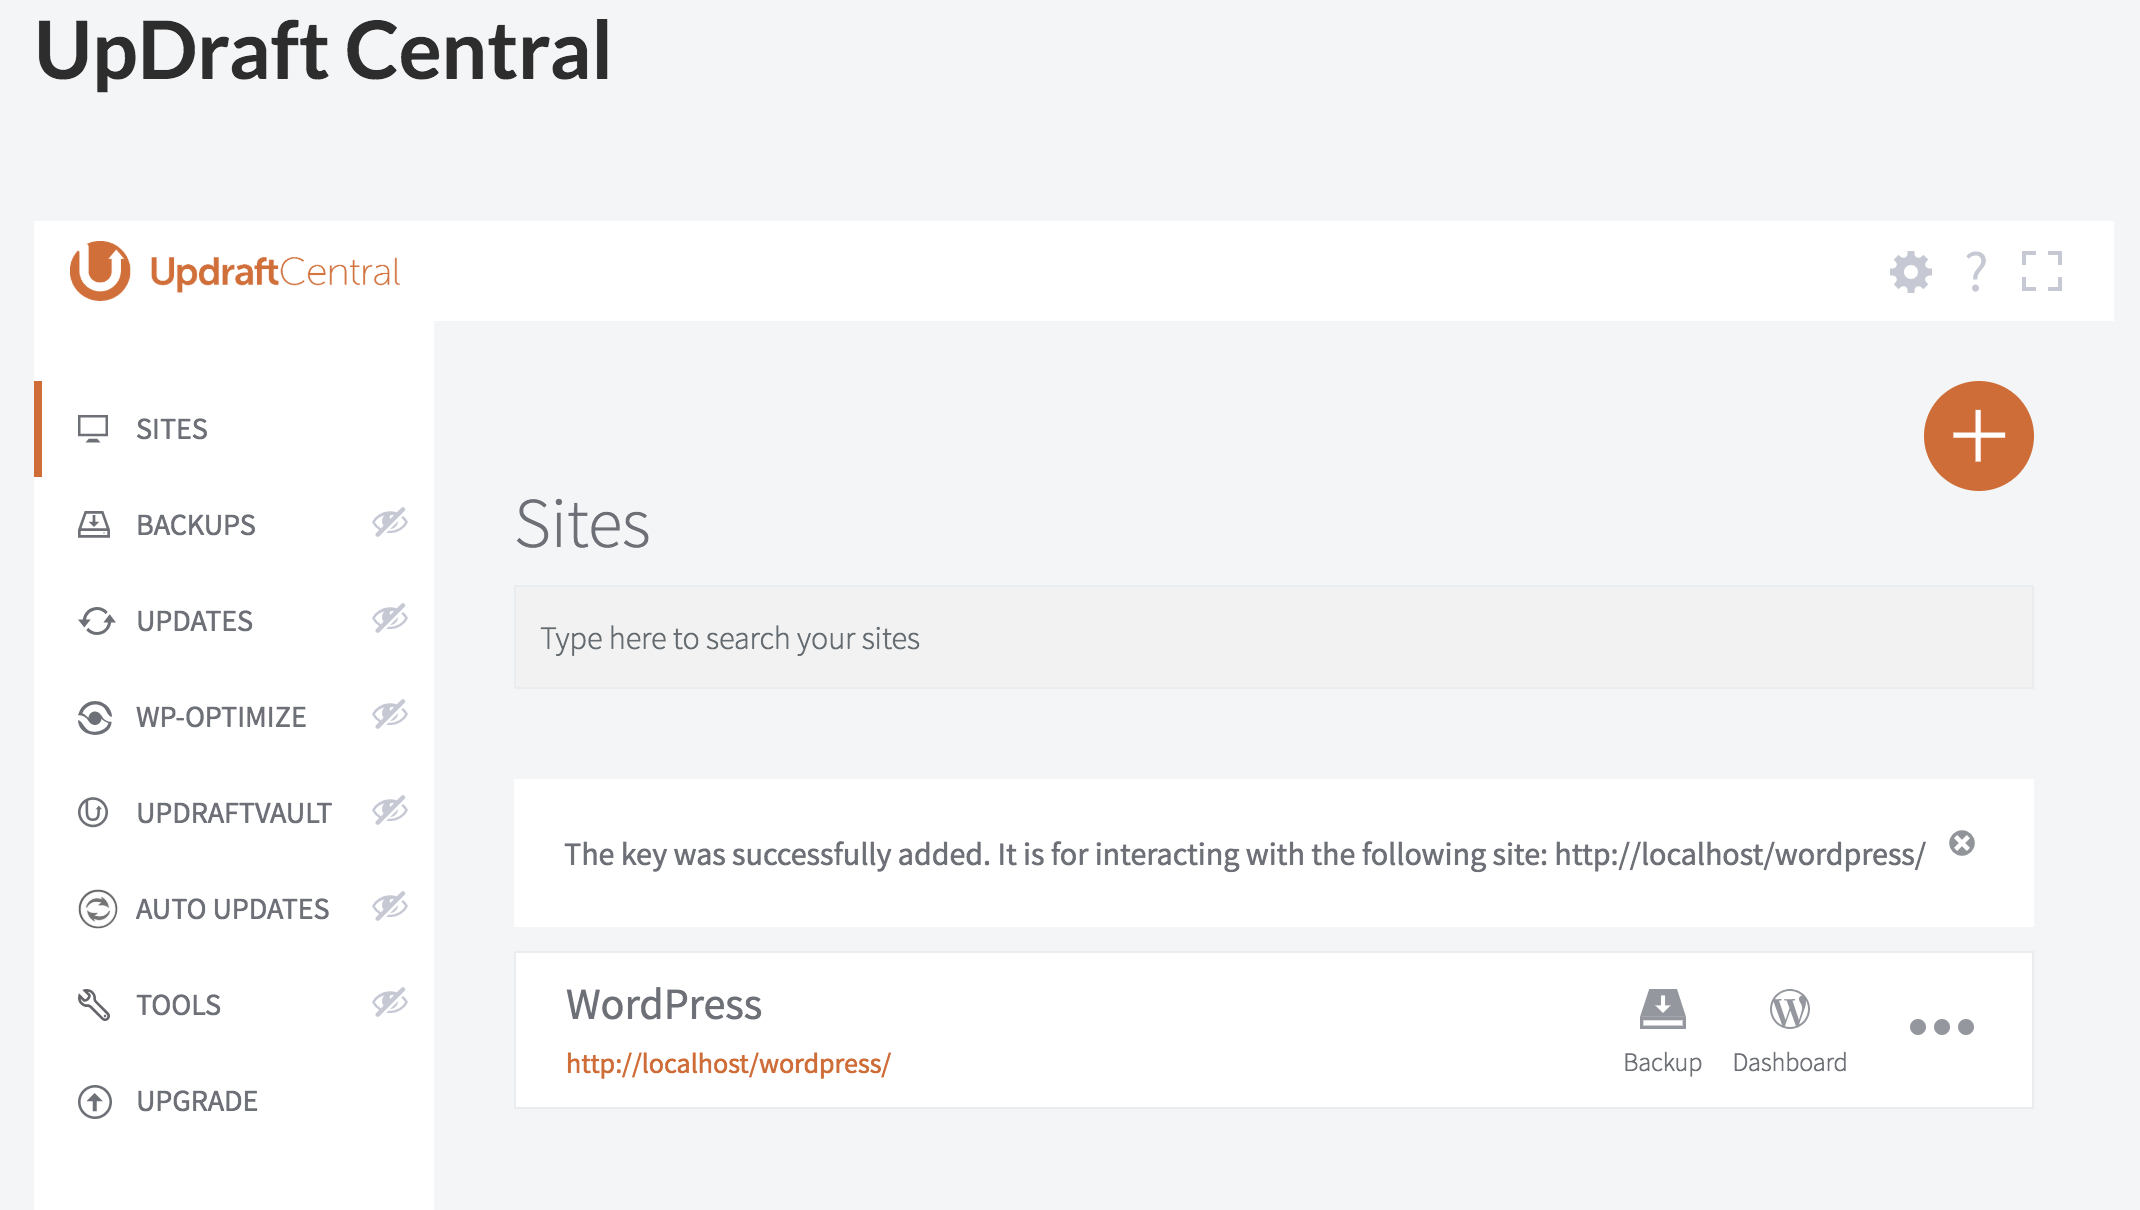
UpdraftCentral Site Added
Step 3: Navigate to Auto updates

Auto Updates Tab
From there, you can select the site with Easy Updates Manager you want to configure remotely.